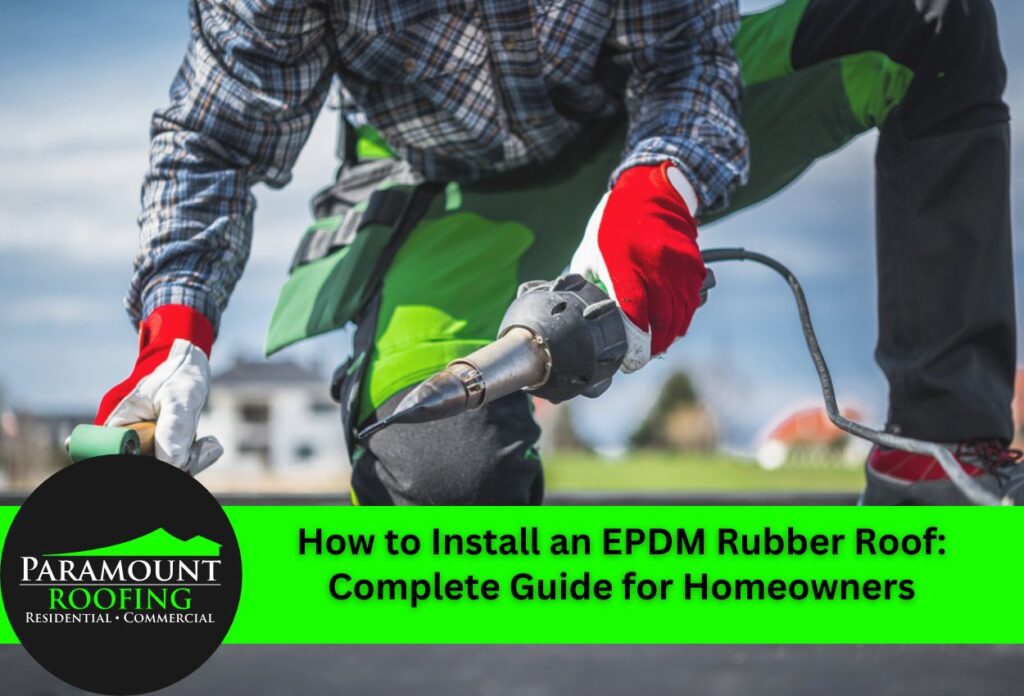
EPDM rubber roofs have become a popular choice for flat and low-slope roofs in Detroit and across Michigan due to their exceptional durability and weather resistance. This synthetic rubber membrane offers outstanding protection against the harsh Michigan climate, including extreme temperature fluctuations, heavy snowfall, and intense summer heat. With a potential lifespan of 20 to 30 years when properly installed, EPDM represents a smart investment for property owners looking for reliable roofing solutions.
The installation process involves preparing the roof surface, measuring and cutting the EPDM membrane, applying specialized adhesive, and securing the edges properly. Professional roofing contractors have years of experience with these installations, follow the right techniques, and use proper materials to achieve quality results.
Before starting your EPDM roof installation, understanding the full process, gathering all necessary tools and materials, and taking appropriate safety precautions is essential. EPDM flat roof installation has gained popularity because of its relatively straightforward application methods and the impressive performance in protecting buildings from water infiltration and weather damage.
While installing an EPDM rubber roof is a project that many homeowners think they can tackle successfully, it is generally recommended to work with professionals. This guide outlines the general steps for EPDM installation to help homeowners understand the process before their project begins.
Step 1: Preparing the Roof Surface for EPDM Installation
Proper preparation of your roof surface is critical to the success and longevity of your EPDM rubber roof installation. Before applying any materials, you’ll need to thoroughly clean the existing roof deck, removing all debris, dirt, and old roofing materials. For Detroit homes with aging roof systems, this often means stripping away deteriorated materials down to the structural deck.
Start by inspecting the entire roof surface for structural issues. Look for soft spots, rotting wood, or water damage that might compromise your new roofing system. In Michigan’s climate, where freeze-thaw cycles can cause significant damage, these inspections are particularly important. Replace any damaged decking and ensure the surface is completely solid before proceeding.
Once structural repairs are complete, sweep the surface clean and address any uneven areas. The substrate must be smooth and flat, and even small imperfections can damage the membrane over time. Many EPDM roof installation projects benefit from installing a layer of insulation board, which creates an ideal surface while improving your home’s energy efficiency.
The final preparation step involves installing any necessary edge details and ensuring proper drainage. Flat roofs need slight slopes to direct water toward drains or scuppers. This careful preparation work forms the foundation for successful DIY EPDM membrane roof installation and helps ensure your rubber roof will perform well through Michigan’s varied seasons.
Step 2: Measuring and Cutting Your EPDM Membrane
Accurate measurement is crucial when installing an EPDM rubber roof on your Detroit property. Begin by measuring your roof’s length and width, adding at least a few inches for each upstand or parapet wall. For complex roof layouts with multiple sections, measure each area separately and account for any overlaps needed at seams. Always include extra material for flashing around vents, chimneys, and other roof penetrations.
When you’re ready to work with the membrane, choose a clear, calm day as wind can make handling large EPDM sheets difficult. Unroll the membrane over your cleaned roof surface and allow it to relax for 30 to 60 minutes before cutting. This helps eliminate wrinkles and folds that could compromise your installation. Position the sheet so it covers the entire roof with the proper overhang for edges and upturns.
For cutting EPDM, use sharp scissors or a utility knife with a fresh blade. Make straight, clean cuts using a straightedge as a guide. When working around obstacles, make relief cuts toward the penetration, then trim the membrane to fit snugly. For roof vents and other circular penetrations, measure carefully and cut circular openings precisely to ensure a tight seal. Taking time with these measurement and cutting steps creates the foundation for a watertight EPDM roof installation that will protect your property through Michigan’s varied weather conditions.
Step 3: Adhesive Application Techniques for Secure Bonding
Selecting the right adhesive for your EPDM rubber roof is critical to long-term performance, especially in Michigan, where extreme temperatures test roofing systems. There are two primary types of EPDM adhesives: water-based and solvent-based. Water-based adhesives are considered to be more eco-friendly and easier to apply with but may require more time to completely dry. Solvent-based adhesives provide stronger initial bonds and perform better in cooler temperatures, making them ideal for Michigan’s climate, particularly during spring or fall installations.
Begin the application process by thoroughly mixing your adhesive according to manufacturer specifications. Using a roller, apply adhesive to both the substrate and the underside of the EPDM membrane in sections of approximately 10 to 15 square feet at a time. Maintain consistent coverage, avoiding puddles or thin spots that can compromise adhesion strength. In colder weather, you may need to allow for extended drying times.
The “tack test” is essential for determining when the adhesive is ready for bonding. Touch the adhesive lightly with a clean, dry finger — it should feel tacky but not transfer to your finger. This creates the watertight seal necessary to protect Detroit homes from rain and moisture infiltration throughout the year.
Step 4: Rolling and Securing the EPDM Membrane
Once your adhesive has reached the proper tack level, it’s time to roll and secure the EPDM membrane to create a watertight surface. Starting at the center of your roof, carefully fold back the membrane and begin rolling it into place. Work methodically outward in all directions to push air pockets toward the edges. This approach helps prevent trapped air bubbles that could compromise the integrity of your roof system.
Use a push broom with stiff bristles for the initial smoothing, applying firm, consistent pressure across the surface. Follow this with a heavy steel or rubber roller to ensure complete adhesion between the membrane and substrate. Pay particular attention to the edges, corners, and areas around roof penetrations, as these are common points for future leaks in Michigan homes exposed to heavy rain and snow melt.
For seams where two pieces of EPDM meet, apply manufacturer-approved seam tape or liquid adhesive. Clean both membrane surfaces with an appropriate primer and allow it to dry until tacky. Apply the seam tape between the overlapping sections, remove the backing, and press the top membrane firmly onto the tape. Use a small hand roller to apply strong, consistent pressure along the entire seam. This creates a molecular bond that prevents water infiltration at these critical junctions. The attention to detail during this rolling and securing phase will significantly impact how well your EPDM roof performs during Detroit’s freeze-thaw cycles and heavy precipitation.
Step 5: Flashing Details and Roof Penetrations
Proper flashing is critical to ensuring your EPDM rubber roof remains watertight, especially around vulnerable areas where water could potentially infiltrate. Start by identifying all roof penetrations, including vents, pipes, skylights, and HVAC units, that require special attention during your EPDM roof installation.
For pipe penetrations, use pre-formed EPDM pipe boots whenever possible. Clean the pipe surface thoroughly, apply primer to both the pipe and the membrane area surrounding it, and then slip the boot over the pipe. Secure the base flange to the main membrane using seam tape or liquid adhesive, rolling firmly to create a watertight seal. For irregular penetrations, use uncured EPDM flashing tape, which can be molded to conform to unusual shapes.
Roof edges require special attention with proper drip edge installation. Apply water block sealant under the membrane at termination points, then fold the EPDM over the roof edge. Secure with termination bars fastened approximately 6 inches apart, creating consistent compression. At wall transitions, extend the membrane at least 6 inches up the vertical surface, secure with termination bars, and seal the top edge with water-cut-off mastic and appropriate caulking. These carefully executed flashing details are what separate amateur installations from professional-quality EPDM roofing systems that can withstand Michigan’s challenging weather conditions for decades.
Step 6: Final Inspection and Maintenance Tips for EPDM Roofs
Completing your EPDM rubber roof installation isn’t the final step — a thorough inspection ensures your hard work will provide lasting protection. Begin by walking the entire roof surface, looking for wrinkles, bubbles, or areas where adhesion seems incomplete. Pay special attention to seams and edges, pressing firmly to verify proper bonding. Check all termination points and flashing details, ensuring they’re properly sealed and secured. After rain or using a garden hose for a controlled water test, inspect the underside of your roof deck for any signs of leakage.
To maximize the lifespan of your EPDM roof in Detroit, implement a regular maintenance schedule. Inspect your roof a few times a year and remove debris like leaves and branches that can trap moisture and potentially damage the membrane. Clean the surface using mild detergent and water, avoiding petroleum-based products that can degrade the rubber. Look for signs of potential issues, including punctures, loose seams, or damaged flashing.
While minor repairs can be DIY projects, call professional Detroit roofing contractors for significant damage or if you notice water infiltration. Most quality EPDM installations can last over 20 years with proper maintenance, making it an excellent investment. Regular inspection and prompt attention to small issues will prevent expensive repairs and extend your roof’s service life.
Trust Paramount Roofing for Your EPDM Roof Installation Needs in Detroit
If you’re ready to tackle an EPDM rubber roof installation but unsure about handling it solo, Paramount Roofing is here to help. Specializing in EPDM installation and repairs, we bring precision and expertise to every project, ensuring your roof is durable, weather-resistant, and perfectly fitted. Don’t risk the integrity of your home with DIY uncertainties. For professional installation that guarantees peace of mind, call Paramount Roofing today at (586) 690-0227. Our team is equipped to provide you with the highest quality service in Detroit, making your roofing project a seamless and successful endeavor.
 Free Estimate
 Request Service
 Locations


