 Free Estimate
 Request Service
 Locations

Approximately 90% of roof leaks in Detroit homes start at flashing points, the thin metal strips that seal joints where the roof meets chimneys, walls, and valleys. Detroit winters, with lows near 20 degrees Fahrenheit and around 40 inches of annual snowfall, cause repeated temperature changes that wear metal flashing down fast, leading to fatigue, rust, and cracking over time. According to the Detroit NWS Climate Summary, the region experiences significant seasonal temperature swings that accelerate material fatigue on roofing systems.
Damaged roof flashing is metal that has split, separated, corroded, or pulled away from its sealed position, allowing water to enter the roofing system. The three locations that fail most often are chimneys, valleys, and wall intersections. Detroit’s housing stock makes this worse, as many homes are over 50 years old, meaning the original flashing has had decades of Michigan weather working against it.
This article covers how to spot failing flashing, remove it without damaging surrounding shingles, weigh DIY fixes against professional replacement, and understand what the repair will cost.
What Are the Signs of Damaged Roof Flashing That Needs Replacing, Not Just Resealing?
Rust covering more than 30% of a flashing surface, gaps wider than 1/4 inch, or flashing lifted more than 1/2 inch from the roof plane all point to full replacement, not a sealant patch. These are the signs of damaged roof flashing that needs replacing, and missing them leads to rot, mold, and costly structural repairs. Detroit homeowners should know exactly what to look for.
- Rust covering 30%+ of the surface: When rust spreads across more than 30% of a flashing panel, the metal is too far gone for sealant to hold. Corrosion that large means the material has weakened underneath and will keep failing.
- Gaps wider than 1/4 inch at seams or joints: A gap that size allows water to pour directly into the roof deck. Sealant shrinks and cracks in Michigan’s temperature swings, so any gap beyond 1/4 inch needs new metal, not another layer of caulk.
- Flashing lifted more than 1/2 inch from the roof plane: Ice dams in Michigan winters force standing water under lifted flashing, pushing it further away from the roofing surface with each freeze cycle. Once the gap reaches 1/2 inch or more, water is already getting in, and replacement is the only fix.
- Perforations or cracks from hail impact: Detroit sees regular summer hail and high-wind storms that punch holes directly through thin flashing metal. A perforation, even a small one, cannot be reliably sealed and requires a full panel replacement. Homeowners dealing with storm-related damage should review hail damage roof repair services to understand their options.
- Moss growth along flashing seams: Moss accumulation along flashing seams is an early indicator of seal failure that homeowners often miss. Michigan’s humid summers create ideal conditions for moss, and wherever it grows along a seam, moisture has already been sitting there long enough to break down the underlying seal.
- Visible separation at chimney or wall intersections: Flashing that has pulled away from a chimney face or wall by any measurable distance, even 1/4 inch, is no longer sealing the joint. These two locations are among the three most common failure points in Detroit’s aging housing stock.
- Fasteners that are loose, missing, or corroded: Michigan’s temperature changes loosen flashing fasteners over time. If nails or screws back out or show heavy rust, the entire flashing section has likely been shifting and needs to come off for inspection and replacement.
If two or more of these signs appear together, sealant alone will not solve the problem. A full inspection by a qualified roofing contractor is the right next step before the next storm season hits.
What Tools Do You Need to Remove Damaged Roof Flashing Without Damaging Shingles?
Successful DIY roof flashing removal without damaging shingles requires 7 specific tools, and using the wrong ones is the fastest way to crack shingles or strip fasteners. Having the right setup before you start saves time and prevents a simple repair from turning into a full shingle replacement.
- Flat pry bar (12 to 18 inches): A bar in this length range gives enough leverage to lift flashing without bending too far into the shingle surface. Shorter bars concentrate too much force in one spot and increase the risk of cracking.
- Cat’s paw nail puller: This tool lets you pull roofing nails cleanly from beneath flashing without tearing surrounding material. It works best when driven straight down rather than at an angle.
- Aviation snips: Use these to cut flashing panels that are too corroded or deformed to pry out in one piece. They cut cleanly through 26-gauge and lighter metal without distorting nearby shingles.
- Oscillating multi-tool: For how to safely remove corroded roof flashing, an oscillating multi-tool is the most effective option. It cuts through seized or heavily corroded fasteners without requiring you to pry against surrounding shingles, reducing the chance of surface damage.
- Putty knife: Use this to break the sealant bond around flashing edges before lifting. Sliding the blade flat along the seam keeps the shingle tab intact.
- Roofing hammer: Needed for tapping the pry bar and driving the cat’s paw without damaging the deck below.
- Non-slip roofing boots rated for slopes up to 6:12 pitch: Falls are the leading cause of roofing injuries. Boots rated for this slope range give enough grip for most Detroit residential roof pitches.
Detroit homeowners should only attempt DIY removal when temperatures are between 50 degrees and 85 degrees. Shingles become brittle below 40 degrees and will crack under even light prying force. If the forecast is dropping, wait for a warmer window before starting the job.
How Do You Remove Damaged Roof Flashing Step-by-Step, Including Around a Chimney?
Damaged roof flashing removal steps follow a sequence of 6 to 8 actions, and skipping any one of them risks cracking shingles or leaving debris that prevents a clean seal on the new flashing. Chimney flashing is the most involved removal, expect it to take 20 to 40 minutes longer than valley or pipe boot flashing because it involves both base flashing and counter flashing embedded in the mortar joints. Follow these steps in order.
- Soften or cut old sealant along all flashing edges: Run a putty knife or oscillating multi-tool blade flat along every sealed edge. Cold, hardened sealant tears shingles if you skip this step. Work the full perimeter before lifting anything.
- Carefully lift overlapping shingles above the flashing: Slide a flat pry bar under shingle tabs just enough to expose the flashing beneath. Work slowly, shingles held in place by roofing adhesive will resist and crack if forced.
- Remove fasteners in sequence from the outer edge inward: Use a cat’s paw nail puller to extract nails or screws one at a time, moving from the outside edge toward the center. Pulling in the wrong order torques the panel and bends adjacent shingles.
- Chisel out counter flashing at chimney mortar joints: Removing counter flashing from a chimney requires chiseling hardened mortar. This is the step that separates how to remove and replace roof flashing around a chimney from simpler pipe boot or valley flashing removal. Use a cold chisel and hammer, working carefully to avoid cracking the brick face. Take your time here. This step alone accounts for much of the 20-to-40-minute time difference.
- Extract base flashing without bending adjacent shingles: Once fasteners are out and the mortar bond is broken, slide the base flashing panels out flat. Bending them as you pull will catch on shingles and tear tabs.
- Cut away any remaining panel sections with aviation snips: Corroded sections that won’t slide free should be cut, not forced. Snips handle 26-gauge and lighter metal without distorting the surrounding material.
- Inspect and clean the roof deck: Remove all sealant residue, rust stains, and debris from the roof deck. Check the ice and water shield underlayment beneath the Michigan Residential Code, which requires ice and water shield in valleys and eaves, and any torn sections must be replaced before new flashing goes down. Do not skip this inspection.
- Document the removal area before proceeding: Photograph the cleaned roof deck, existing underlayment condition, and mortar joint depth. This record helps the next installer match materials correctly.
If the ice and water shield shows tears or gaps anywhere along the removal zone, replace it before installing new flashing. Installing new flashing over damaged underlayment is one of the most common reasons a new flashing repair fails within the first few winters in Michigan.
Should You Remove Damaged Roof Flashing Yourself or Hire a Detroit Roofing Contractor?
Hire a professional for any flashing removal involving a roof pitch above 6:12, chimney counter flashing, or visible soft spots in the deck. DIY removal is only appropriate for small, accessible sections on low-slope roofs with no underlying damage.
- Roof pitch above 6:12: Any pitch steeper than 6:12 creates serious fall risk without professional equipment and harness systems. Most Detroit residential roofs fall in the 4:12 to 8:12 range, so confirm your pitch before starting.
- Flashing spans longer than 10 linear feet around a chimney: Chimney flashing removal involves chiseling mortar joints and handling both base flashing and counter flashing. This is rarely appropriate as a first-time DIY project, even experienced DIYers frequently crack brick faces or misalign the replacement.
- Visible soft spots or deck rot beneath flashing: Soft or spongy roof decking underneath removed flashing means structural damage is already present. A professional assessment must happen before any further removal proceeds. Don’t guess at the extent of rot.
- Flashing runs longer than 6 linear feet: DIY removal is most appropriate for small pipe boot or step flashing sections under 6 linear feet, on roofs with a 4:12 pitch or less, with no deck damage visible. Beyond that threshold, the complexity and risk increase enough to warrant professional help.
- Height above one story or 15 feet: Michigan homeowners attempting DIY repairs at heights above 15 feet may void homeowners’ insurance coverage for any future water damage claims related to that repair. Verify your policy terms before climbing onto an upper-story roof.
- Temperature below 40 degrees at time of repair: Shingles crack under even light prying force below 40 degrees. If temperatures are dropping and the repair cannot wait, a contractor with proper emergency roofing services is the safer choice.
When in doubt, a professional inspection costs far less than repairing water damage caused by a removal that went wrong. Paramount Roofing serves Detroit homeowners with flashing assessments and full replacement for situations that go beyond safe DIY jobs.
What Does It Cost to Remove and Replace Damaged Roof Flashing in Detroit?
Flashing replacement costs in Detroit range from under $200 for a simple pipe boot to over $900 for a full chimney system, and the type of flashing, material choice, and age of the home all affect the final number.
| Flashing Type | Removal Labor Cost (Detroit) | Material Cost | Total Replacement Cost Range | Typical Lifespan in Michigan |
|---|---|---|---|---|
| Chimney Flashing | $100 to $200 | $150 to $300 | $250 to $900 | 15 to 30 years |
| Valley Flashing | $75 to $150 | $80 to $200 | $155 to $500 | 20 to 30 years |
| Pipe Boot Flashing | $50 to $100 | $30 to $80 | $80 to $250 | 10 to 20 years |
| Skylight Flashing | $100 to $175 | $100 to $250 | $200 to $600 | 15 to 25 years |
| Wall Step Flashing | $75 to $150 | $60 to $150 | $135 to $450 | 20 to 30 years |
Corroded or heavily seized flashing common in Detroit homes over 50 years old can add $75 to $150 in extra labor per location because contractors must work carefully to avoid damaging surrounding shingles during removal. That added cost is still minor compared to waiting.
Leaving damaged flashing unaddressed through one full Detroit winter risks roof deck rot repair costs of $500 to $1,500 or more per affected section, making full replacement at contractor rates a strong return on investment. Addressing the problem now costs far less than repairing water damage later.
How Soon Should Damaged Roof Flashing Be Removed and Replaced in Michigan’s Climate?
The best window for flashing replacement in Detroit runs from late spring through early fall, May through September, when temperatures consistently stay above 50 degrees, allowing sealants to bond correctly and shingles to flex without cracking during removal. Emergency replacement can happen in winter, but only using cold-weather roofing products rated to -10 degrees, which most standard sealants are not. The Detroit Average Winter Temperatures data underscores why timing flashing repairs within the correct seasonal window is important for lasting results.
Waiting through even one Michigan winter with compromised flashing carries real consequences. During melt cycles, ice dams can push 2 to 5 gallons of water per day into the roof assembly. That level of sustained moisture exposure can trigger deck rot and mold growth in as little as 30 to 90 days damage that costs far more to fix than the flashing replacement itself.
Detroit homeowners should inspect flashing every spring after the temperature change season and every fall before the first snowfall, a two-inspection-per-year schedule that catches deterioration before emergency removal becomes necessary. Spring inspections catch damage left behind by Michigan’s hard winters. Fall inspections identify weak points before ice and snow return. Keeping to this schedule is the most reliable way to avoid unplanned repairs during the coldest months when costs and risks run highest. Scheduling a residential roof inspection each season is one of the most cost-effective steps a Detroit homeowner can take.
Need Help Removing Damaged Roof Flashing in Detroit? Contact a Local Roofing Expert Today.
Whether a DIY approach makes sense or professional removal is the right call, a free inspection from a Detroit-area roofing contractor can confirm whether removal is needed and catch hidden deck rot before it turns a $250 to $900 flashing job into a $500 to $1,500 structural repair.
Detroit’s temperature change season is approaching. That means flashing that’s already compromised faces more stress with every freeze and thaw. Scheduling an assessment now, before the first snowfall, is the most cost-effective step a homeowner can take. Paramount Roofing serves Detroit homeowners with flashing inspections and full replacement, from simple pipe boots to full chimney systems.
Not ready to schedule? Learn more about roof flashing replacement.
Roofing FAQs
Got questions about your roof? We’ve got answers. From maintenance tips to insurance claims and repair timelines, our FAQ section covers the most common concerns homeowners have. Get informed and make confident decisions about protecting your home.
People Also Ask
Can you reuse old roof flashing if it comes off in one piece during removal?
Reusing removed flashing is not recommended, even if it appears intact. The removal process stresses the metal, and existing fastener holes compromise the seal. Detroit’s freeze-thaw cycles will exploit any weakened points immediately, making new material the only reliable option.
What type of metal flashing holds up best against Detroit's specific weather conditions?
Copper and lead-coated copper offer the longest lifespan in Michigan’s climate, resisting corrosion through repeated freeze-thaw cycles. Galvanized steel is a common mid-range option, though it shows rust sooner in humid Michigan summers. Aluminum is lightweight but expands and contracts more aggressively with Detroit’s temperature swings.
Does removing damaged flashing require a building permit in Detroit?
Michigan building codes generally require permits for structural roofing work, but flashing-only replacement often falls under routine maintenance exemptions in Detroit. Homeowners should confirm with the Detroit Buildings, Safety Engineering, and Environmental Department before starting, as permit requirements vary based on the project’s scale.
Related Articles
-
 June 3, 2026Pole Barn Roof Installation: A Complete Guide for Your ProjectPlanning a pole barn roof? Get expert guidance on materials, pitch, spacing, costs, and installation to build with confidence.
 -
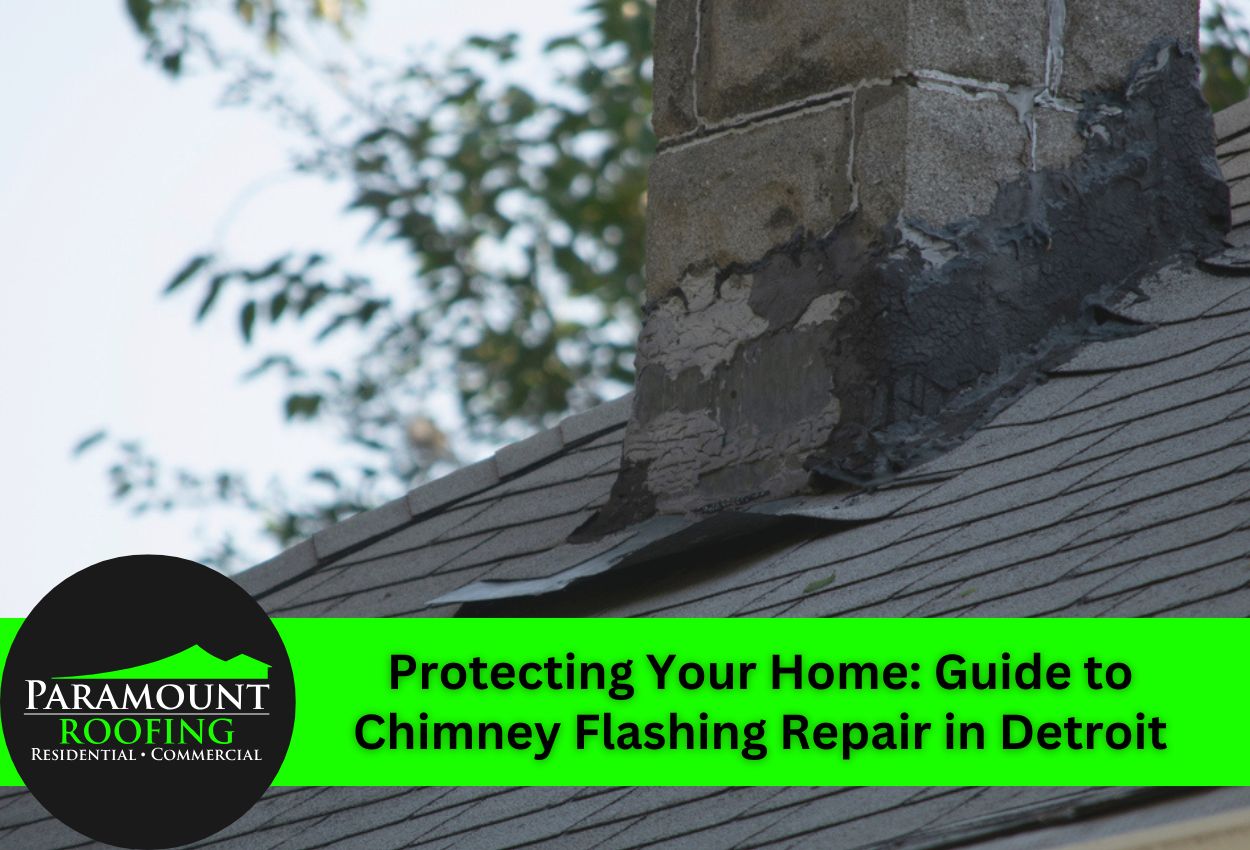 June 10, 2025Protecting Your Home: Guide to Chimney Flashing Repair in DetroitLearn how to fix cracked chimney flashing, prevent leaks, and protect your Detroit home. Get DIY tips and know when to call the pros.
 -
 November 25, 2025The Signs of Step Flashing Damage Every Homeowner Should KnowConcerned about roof leaks from damaged step flashing? Follow our simple DIY guide to replace it and keep your home safe.
Protect Your Home with Expert Roofing
Don’t wait for leaks or storm damage to cause costly repairs. Our experienced roofing team provides fast, reliable service, high-quality materials, and lasting results. Ensure your home stays safe, secure, and looking great—contact us today for a free estimate.