Are you dealing with a leaky flat roof? As your friendly neighborhood contractor, we’re here to guide you step-by-step on how to fix a leaky flat roof with some temporary solutions. Whether your roof is EPDM, TPO, PVC, modified bitumen, or even metal, we’ve got you covered.
So grab your tools and let’s begin!
Step 1: Safety First – Your Shield Against Risks
Before you begin, it’s crucial to prioritize safety above all else. Roofing work comes with its fair share of risks, but with the right precautions, you’ll be well-equipped to repair your leaking flat roof safely and confidently.
Gear Up
The first item on your safety checklist should be proper gear. Put on a well-fitted safety harness that’s anchored securely to prevent falls. Slip-resistant shoes with good traction are a must, as they’ll keep you steady on a potentially slippery roof surface. Don’t forget to protect your eyes with sturdy, shatterproof goggles. Safety goggles not only shield your eyes from debris but also help you keep a clear view of your work.
Weather Awareness
While your enthusiasm to fix that leak might be high, always choose a clear and dry day for this task. Wet roofs can be incredibly hazardous, turning your surface repair into a slippery, unsafe one. Rain or strong winds can also compromise your stability and make your tools less effective.
The Right Ladder
Your ladder is your gateway to the roof, so make sure it’s in good condition. It should be tall enough to safely reach the roof, with its base securely planted on a level and solid surface. Extend the ladder at least three feet above the edge of the roof to provide a stable handhold as you transition from ladder to roof.
Buddy System
Roof work is often best done with a buddy. Having a second person on the ground can offer support and assistance, such as passing tools or offering guidance as you move on the roof. If an emergency does arise, having someone nearby can be a lifesaver.
Mind Your Surroundings
Take a moment to assess the area around your roof. Are there power lines nearby? Overhanging trees or branches? Keep a safe distance from electrical hazards and ensure you won’t be obstructed by foliage as you move around.
Emergency Plan
Before you start, have an emergency plan in place. Know the nearest exit points and have a cell phone or someone nearby in case you need assistance.
With these safety measures in place, you’re ready to take the next step in repairing a leaky flat roof.
Also read: Navigating Commercial Roof Leak Repairs: A Manager’s Guide
Step 2: Locate the Leak
This can be the most difficult part of the process, as water can travel across the roof making it hard to know where the leak actually is. Here’s how to locate the leak with ease.
Interior Investigation
Begin by looking indoors. Look for any telltale signs of water intrusion like water stains, discolored patches, mold growth, or a damp smell coming from your ceiling or walls. Remember, water can travel along beams or rafters, making the leak’s origin far away from the dripping point.
Watch The Weather
Before heading up to the roof, make sure Mother Nature is on your side. Choose a clear, dry day to ensure your safety. Plus, it is more difficult to identify the source of a leak on a wet surface.
Tools Of The Trade
Grab a garden hose and recruit someone to help. This can be a friend, family member, or even a helpful neighbor. You’ll need someone to assist in recreating the conditions that led to the leak.
On The Roof
Now that you’re on the roof, it’s time to replicate rainy conditions. Start gently spraying water on the roof’s surface, starting from the bottom and working their way up. Meanwhile, have someone inside, eyes peeled for any water intrusion.
Communication Is Key
Maintain constant communication with your partner. As you spray water, ask them to let you know when you’ve reached the suspected leaky area. Inside, keep an eye out for any signs of moisture or dampness.
Notes and Documentation
Once you’ve found the leak, don’t forget to take notes, photos, and possibly videos. This information will be useful for the repair process, ensuring you’re tackling the right area using the correct materials and techniques.
Remember, patience and persistence are your best allies when finding the source of a leak. Locating the problem might be tedious and time-consuming, but it is crucial in effectively taking care of the leak and preventing further water damage.
EPDM and TPO Roofs: Patching With Precision
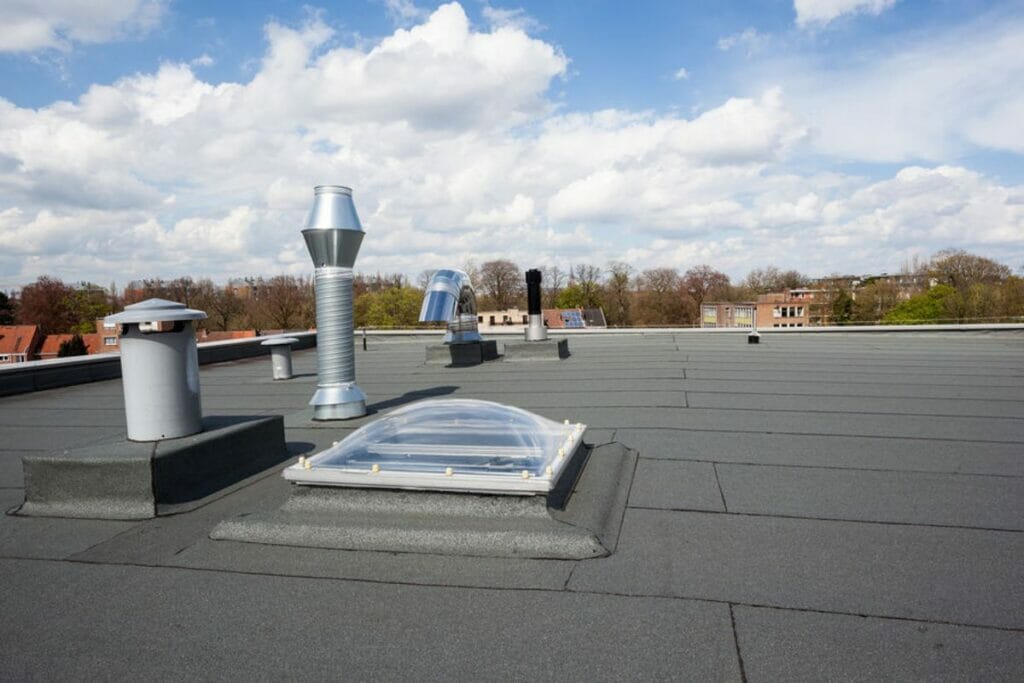
EPDM and TPO roofs are renowned for their resilience against the elements, but when leaks occur, they should not be taken lightly. Here’s how to fix a leaky flat roof with a single-membrane system.
Clean The Affected Area
Begin by gently cleaning the area around the leak with a rubber membrane cleaner. You can find this product at a nearby store. Ensure there’s no dirt, debris, or dust – a clean surface guarantees a solid bond.
Prepare The Patch
Cut a patch from the same material as your roof, whether it be EPDM or TPO. Make sure it’s a few inches larger than the damaged area, giving you ample room for a secure fix.
Apply Roofing Adhesive
Using a brush or roller, apply a roofing adhesive to the underside of the patch. Make sure the adhesive is compatible with your roof type. You would want EPDM adhesive for EPDM roofs and TPO adhesive for TPO roofs.
Position And Press Down
Carefully position the patch over the damaged area, ensuring it’s centered and aligned. Gently press down, starting from the center and working your way outward. This helps eliminate air bubbles and ensures a tight seal.
Bonding Time
Allow the patch to bond as per the adhesive manufacturer’s instructions. This usually takes a few hours, during which you should avoid any foot traffic or stress on the patch.
Inspect And Secure
Once the adhesive has fully cured, inspect the patch to ensure there are no lifted edges or areas that require extra attention. Press down any edges if needed, and your flat roof should be leak-free once again.
Built-Up Roofs: Layer By Layer Renewal
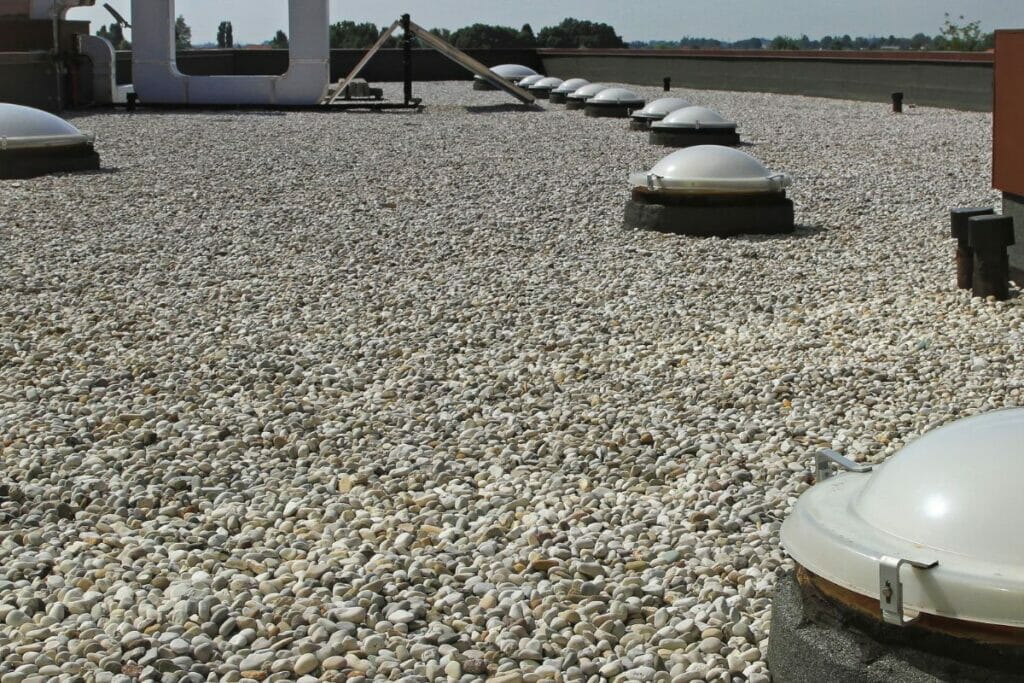
Built-up roofs, also referred to as tar and gravel roofs, are a bit more intricate to fix, but with patience and precision, you can restore their watertight integrity. Here’s how to repair a leaking flat roof with a built-up system:
Expose The Damage
Gently remove the gravel or stones from the affected area, exposing the layers of roofing felt and asphalt. This might require careful prying if the materials are tightly compact.
Remove Damaged Material
Using a utility knife, carefully cut out the damaged roofing layers. Ensure you’re cutting beyond the affected area to remove any compromised material completely.
Patch With New Material
Cut a piece of roofing felt to match the size of the section you removed. Make sure the patch is made of asphalt-saturated felt to ensure a waterproof system. Place the patch over the gap, pressing it down to adhere.
Build Layers
Continue layering the roofing felt, alternating between the patch and the layers until you’ve rebuilt the roof surface up to its original level.
Compacting The Layers
Once the layers are in place, use a heavy roller to firmly compact the materials. This step is crucial for proper bonding and long-lasting performance.
Replace Gravel or Stones
Carefully place the gravel or stones back over the patched area, ensuring they’re evenly distributed. Your built-up roof should now be back in business and keeping leaks at bay.
PVC Roofs: Efficient Repairs
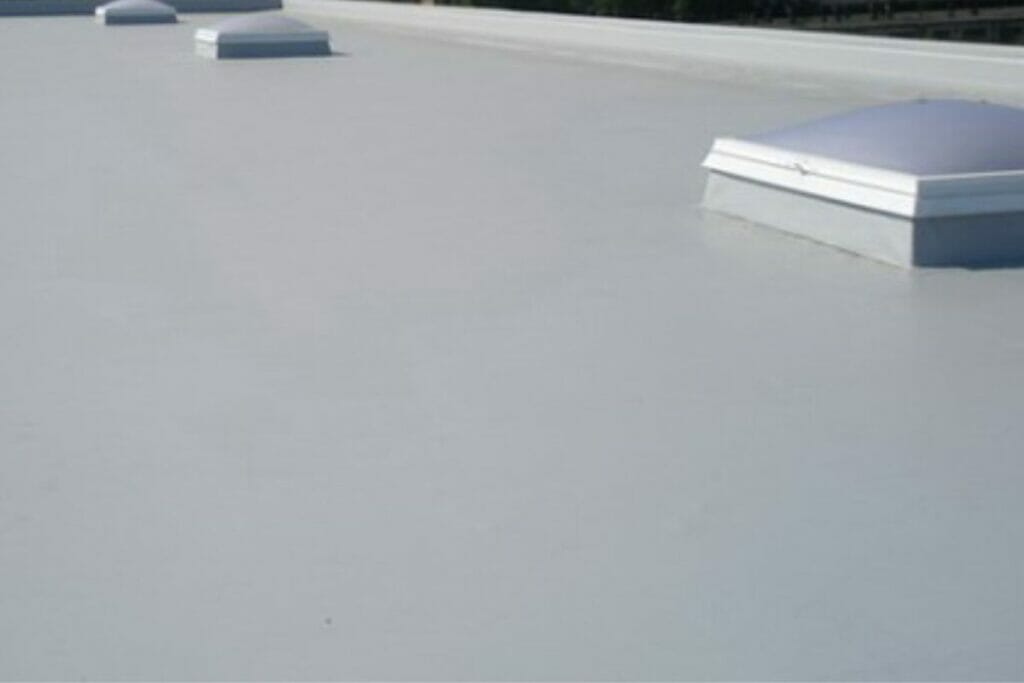
PVC roofs are prized for their energy-saving features. Fixing a flat roof leak with PVC material requires a mix of precision and compatible materials:
Clean And Prep
Begin by cleaning the damaged area with a PVC cleaner. This step ensures there’s no dirt, grease, or residue that could hinder proper adhesion.
Cut A Patch For Small Punctures
For small punctures or holes, cut a PVC patch that’s slightly larger than the damaged area. Apply a solvent-based adhesive to the back of the patch and press it down firmly.
Heat-Welding For Larger Areas
When dealing with larger damaged sections, heat-welding is your best bet. Cut a PVC patch to size and use a hot air gun to heat both the patch and the damaged area. Once they’re hot enough, press the patch down and use a roller to fuse them together seamlessly.
Inspect and Test
After the repair, inspect the patched area to ensure it’s even and properly bonded. You can even perform a water test to ensure the leak is completely sealed.
Modified Bitumen Roofs: Restored Flexibility
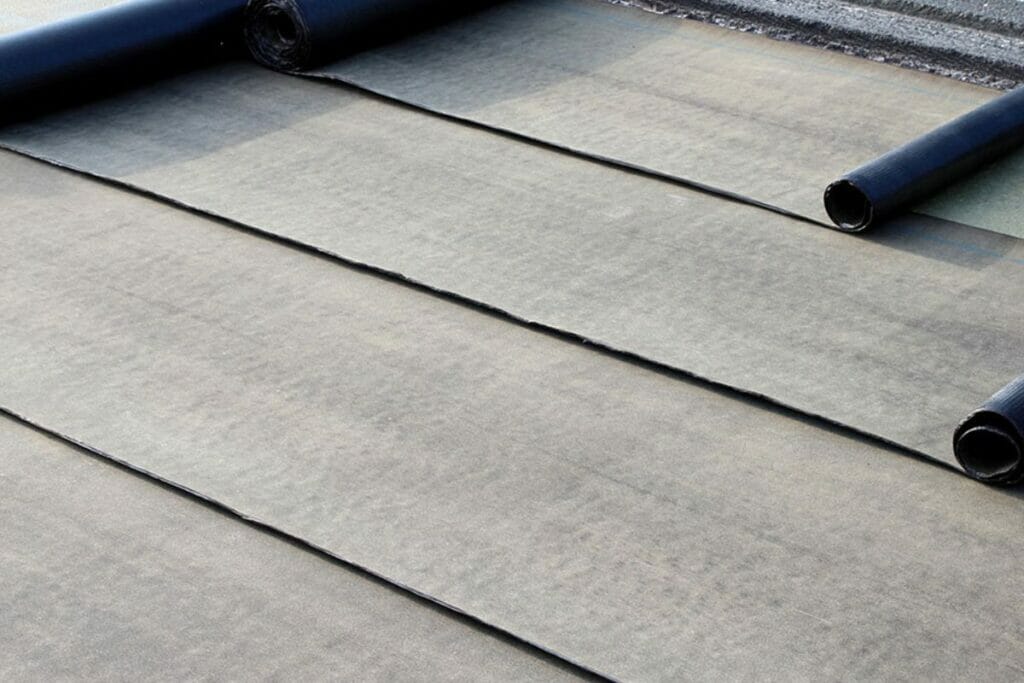
Modified bitumen roofs are prized for their flexibility and resilience. Fixing leaks in these roofs involves a combination of careful cleaning and strategic patching. Here are the steps to fix your leaky flat roof made of modified bitumen.
Clean and Clear
Begin by identifying the damaged area and cleaning it with a cleaner that’s compatible with modified bitumen. This ensures a clean surface for proper adhesion.
Prepare the Patch
Cut a piece of patch material that’s applicable to modified bitumen roofs, making sure it’s larger than the damaged area. Round the corners of the patch to prevent lifting.
Apply The Patch
Using a trowel, apply a layer of bitumen roofing cement to the damaged area. Press the patch into the cement, ensuring it’s well-embedded.
Smooth and Seal
Apply another layer of bitumen roofing cement over the patch, smoothing it out to create a seamless transition between the patch and the existing roof.
Torch-On Membrane for Larger Tears
For larger tears or damaged sections, consider using a torch-on membrane. Cut the membrane to size, heat it with a roofing torch, and apply it over the damaged area. This provides an added layer of protection against future leaks.
Inspect and Fortify
Once the repairs are complete, inspect the patched area to make sure there are no lifted edges or gaps. Your modified bitumen roof is now back in fighting shape against leaks.
Metal Roofs: Sealing Seams and Fasteners
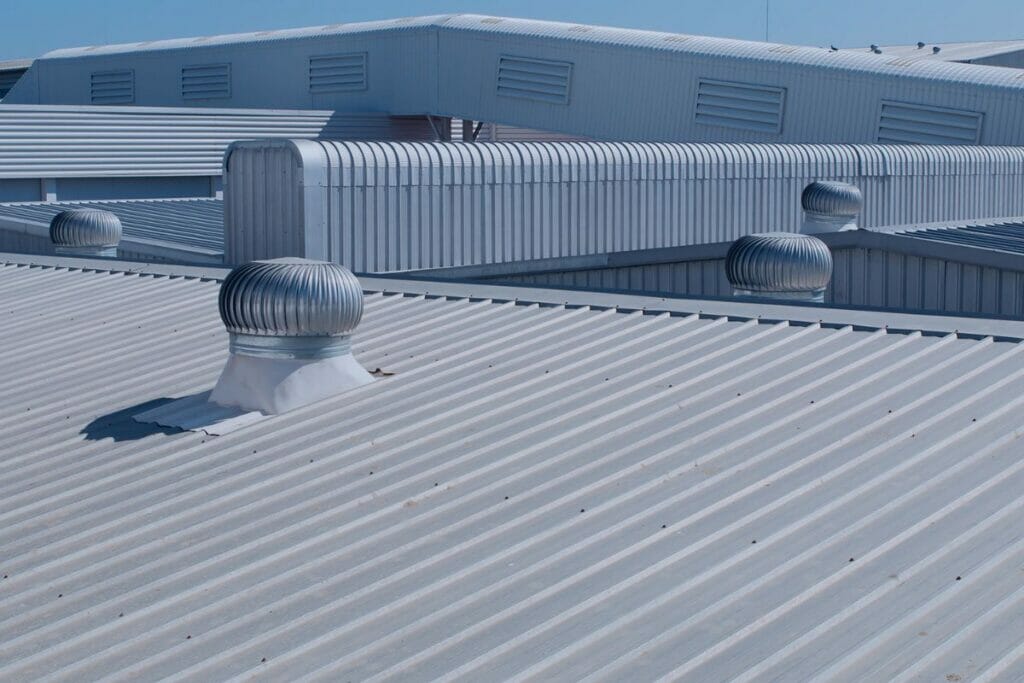
Metal roofs are celebrated for their longevity, but even they can develop leaks around seams and fasteners. Let’s understand how to repair a leaky flat roof around those areas.
Inspect and Clean
Carefully inspect the area around the leak to identify any rust, debris, or damaged sealant. Clean the area thoroughly to ensure a solid bond.
Rust Prevention
If rust was the cause of the leak, treat the area with an anti-rust coating to stop further corrosion. Once treated, you can proceed with the patching process.
Seal Small Holes
For small holes or gaps, use roofing cement that’s compatible with both the metal and any existing sealant. Apply the cement over the damaged area and smooth it out.
Metal Patch for Larger Gaps
For larger gaps or damaged sections, cut a metal patch that matches the type of metal used in your roof. Make sure it’s slightly larger than the damaged area.
Apply Patch with Sealant
Apply a layer of roofing sealant over the damaged area, then press the metal patch down firmly. Seal the edges of the patch with additional sealant to prevent water infiltration.
Weather-Resistant Finish
Your metal roof should now be well-protected against leaks, ensuring a weather-resistant and durable surface.
Just remember, while these steps can empower you to tackle many types of repairs if you’re ever unsure or dealing with a complex situation, don’t hesitate to call in professional help.
If you need a flat roof leak repair service in Metro Detroit, our team at Paramount Roofing is here to fix your roof with long-lasting solutions.
Discuss Your Flat Roof Repair Project With The Experts
Dealing with leaks can be a real battle, but you’re not alone in this fight. Our team at Paramount Roofing is armed with experience, passion, and dedication to helping homeowners obtain their perfect roofing system. Call us at (586) 690-0227, and our specialists will guide you with a free consultation and estimate on your flat roof repair project in Metro Detroit.
 Free Estimate
 Request Service
 Locations
